

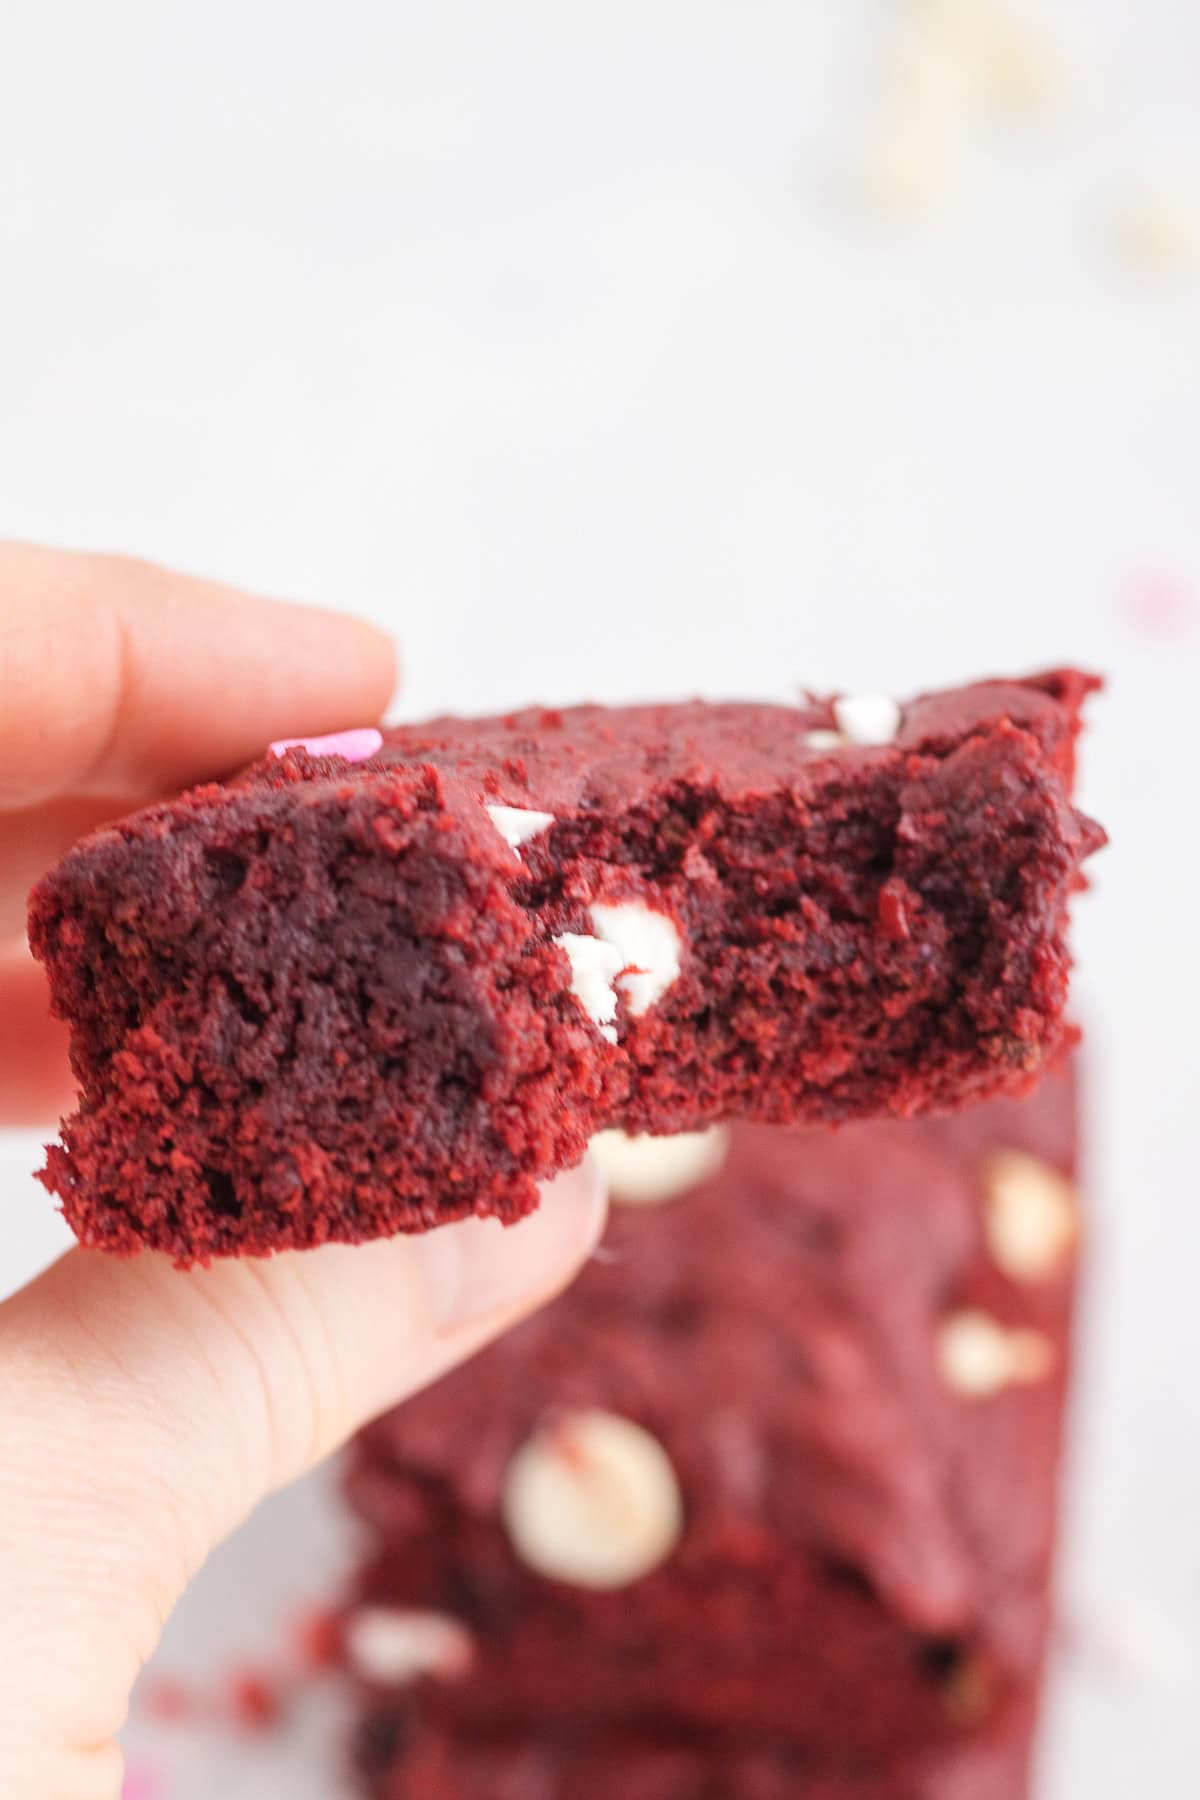
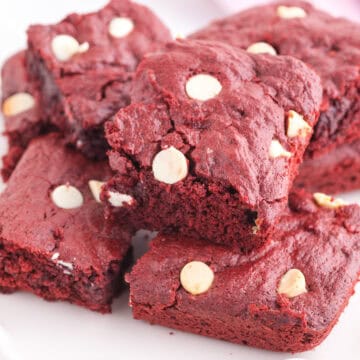
These Red Velvet Cake Mix Brownies come together in minutes, bake into thick, chewy, fudgy squares, and honestly? They taste like something you'd grab from a bakery display. The red velvet flavor is rich and slightly chocolatey, the texture is dense and soft, and every bite has little pops of sweet white chocolate. You know that moment when everyone goes quiet because they're busy eating? Yep… that happens here.

They're the kind of dessert I make when I'm short on time, in a cozy baking mood, or honestly when I just want chocolate without pulling out half my pantry. You can serve them as an easy weeknight treat, Valentine's dessert, Christmas sweet. If you love simple baking recipes like my Easy Homemade Puff Pastry Pop Tarts or my Brownie Batter Dip, these brownies fit right in.
Jump to:
The ingredients
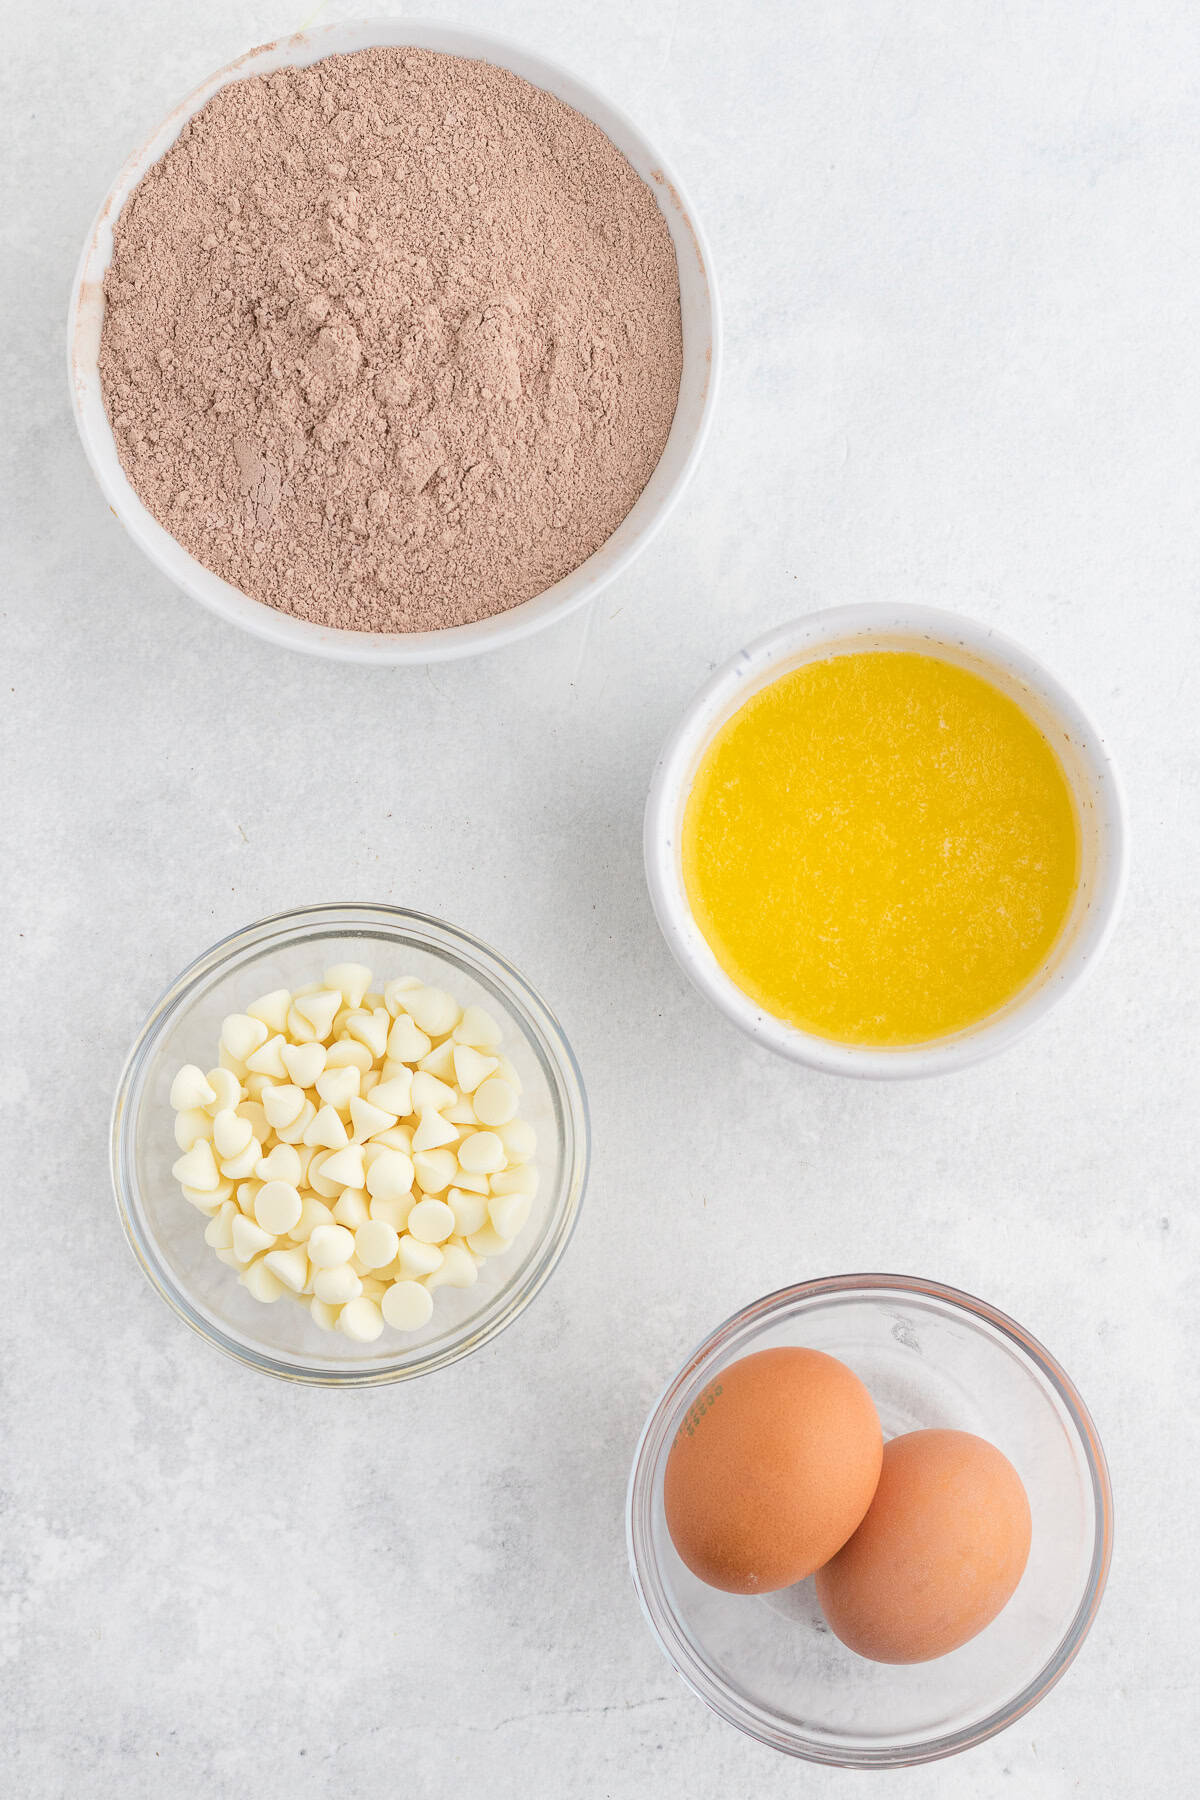
Red velvet cake mix: Use a standard 15.25 oz box. Any brand works great.
Eggs: Help the brownies bake dense, fudgy, and rich.
Butter: Melted butter gives that chewy brownie bite instead of a fluffy cake texture.
White chocolate chips: Little sweet creamy bites in every square. Totally optional… but I never skip them.
Step-by-Step Instructions for the Red Velvet Brownies
Step 1: Preheat your oven and line an 8x8 pan with parchment or lightly grease it.
Step 2: Melt the butter until smooth and slightly cooled.
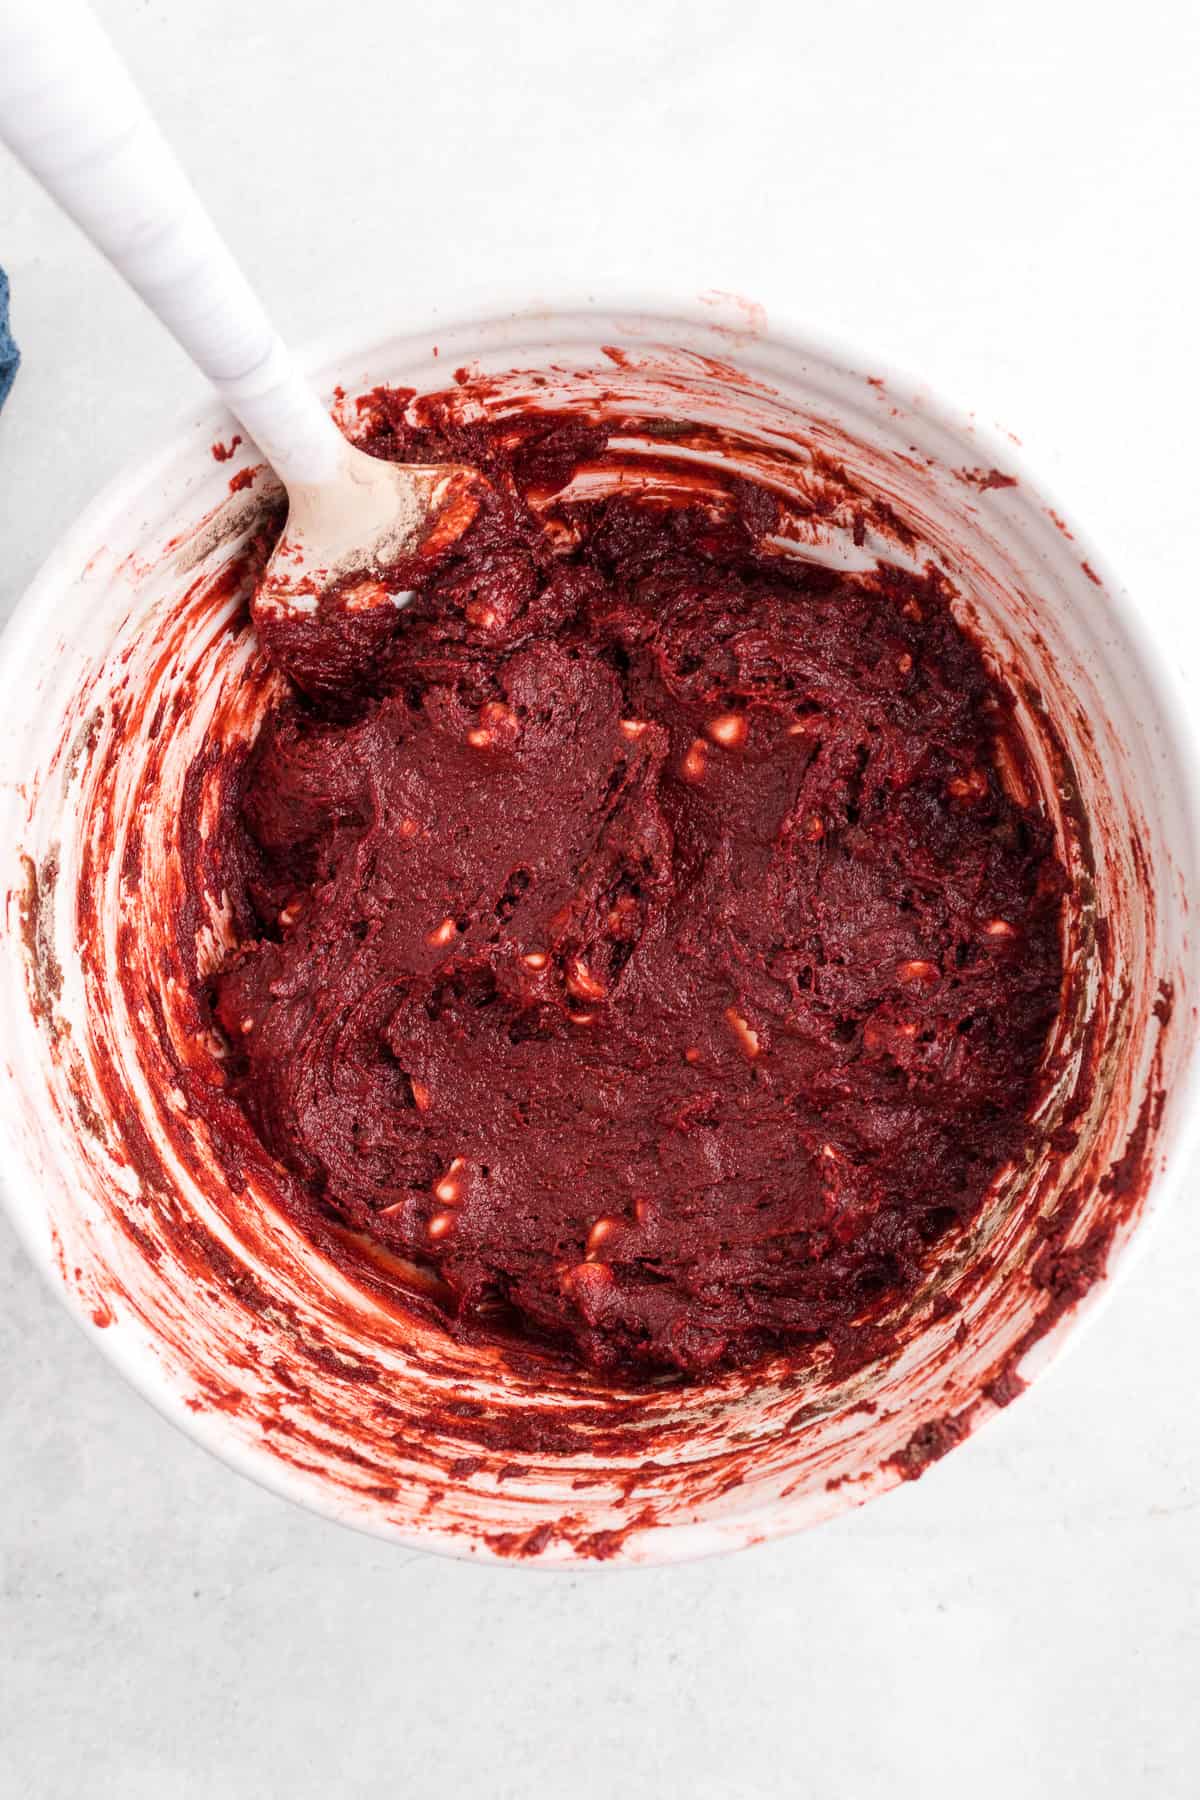
Step 3: Mix the cake mix, eggs, and melted butter in a large bowl. It'll feel thick and sticky. That's perfect.
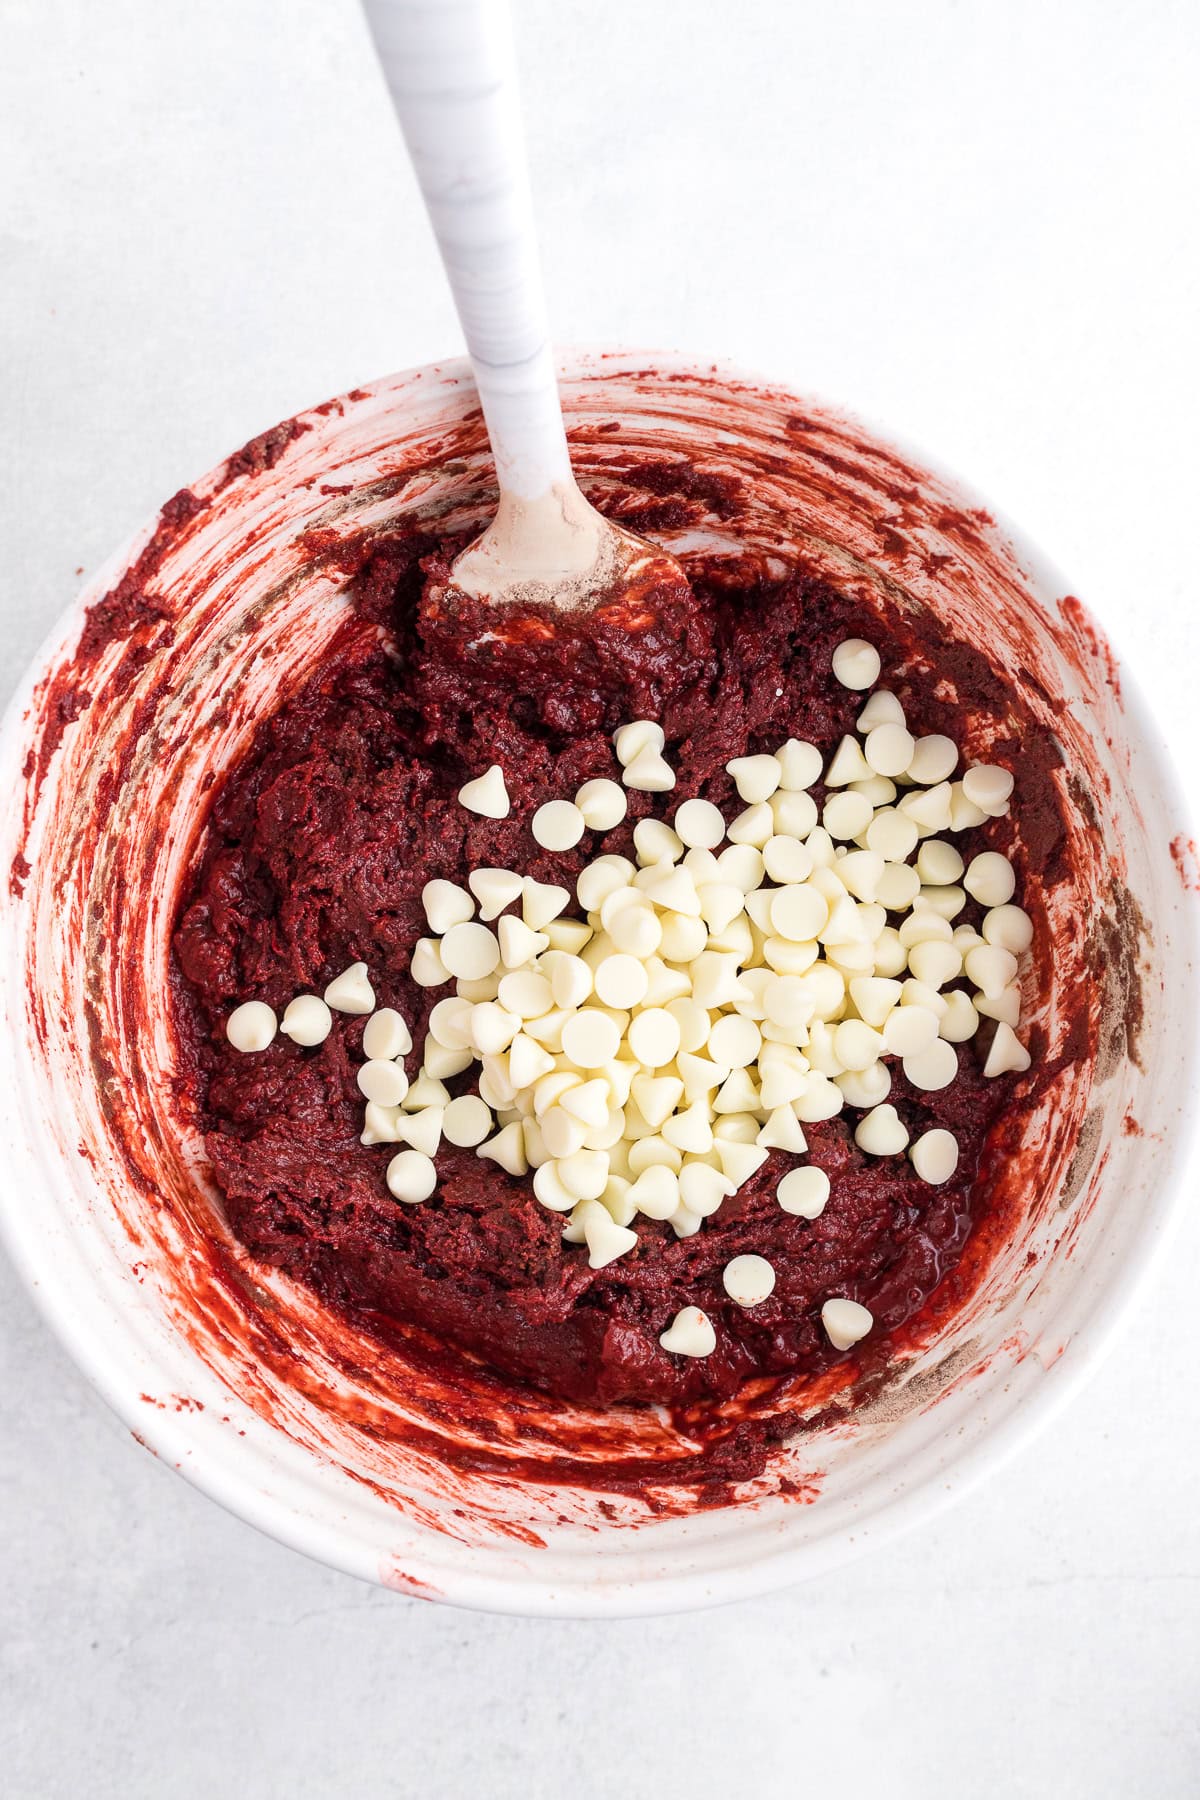
Step 4: Fold in the white chocolate chips.
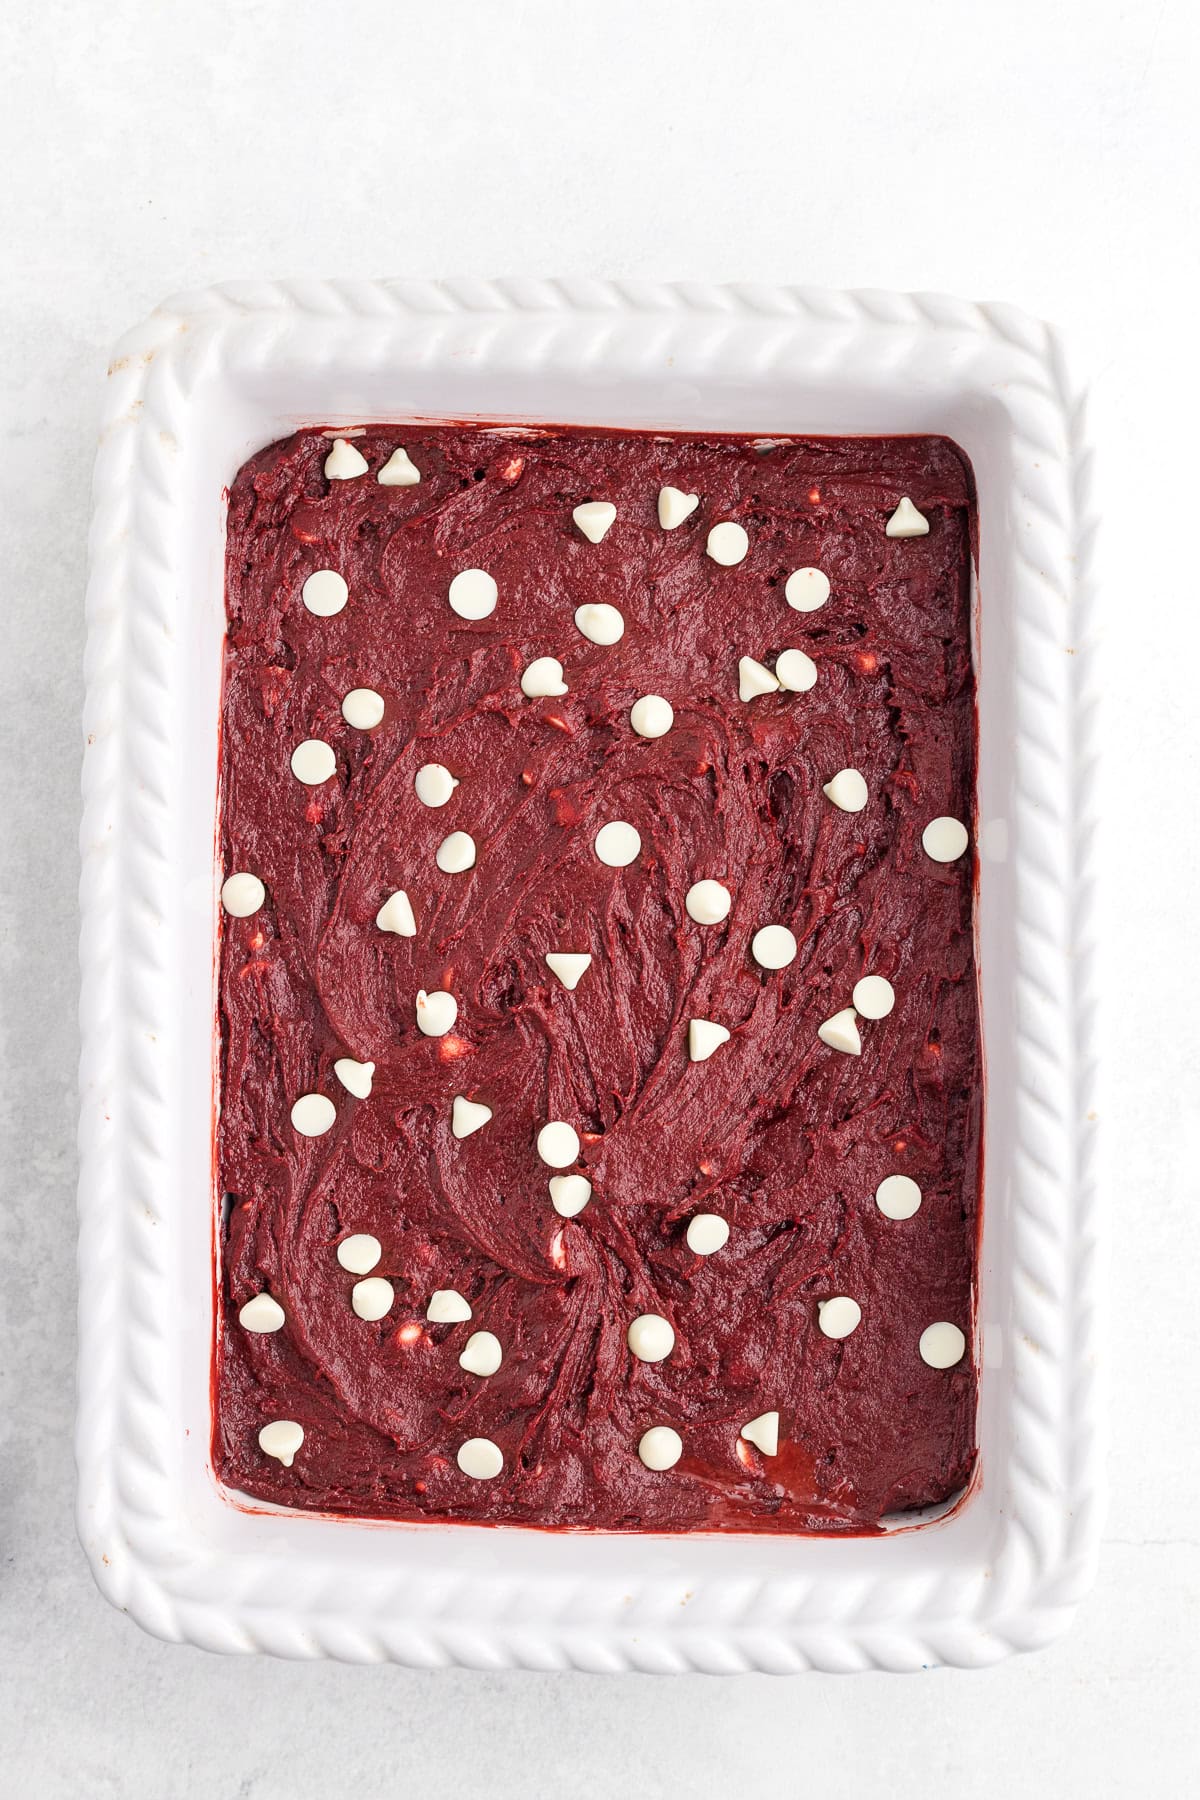
Step 5: Press the batter into the pan. It won't pour. Think "spread and press."
Step 6: Bake until the edges look set and the center is slightly soft.
Step 7: Cool before slicing. If you cut them hot, they'll be gooey and messy… which honestly isn't the worst thing in the world either.
Sophie Tips
• The batter will feel thick. Don't panic. That's what makes them brownies instead of cake.
• Want extra bakery vibes? Sprinkle more chips on top before baking.
• Let them cool. I know… patience isn't fun. But it helps them slice beautifully.
• If you ever feel tired or overwhelmed, make easy desserts like this. Baking therapy counts.
Variations
• Swap white chocolate chips for dark chocolate chips
• Add chocolate chunks for extra fudgy pockets
• Swirl cream cheese into the top before baking
• Add Valentine sprinkles, Christmas sprinkles, or birthday sprinkles
• Dust with powdered sugar after baking
Serving Ideas
• Cut into squares and serve with vanilla ice cream
• Warm up for 8 to 10 seconds in the microwave
• Serve as dessert plates at family dinners
• Add whipped cream for a lighter bite
• Stack them and drizzle melted white chocolate
Storage Tips
Store at room temperature for 3 to 4 days in an airtight container.
They also refrigerate well for up to 5 days for a slightly denser texture.
Freezer friendly up to 2 months. Thaw on the counter.
FAQs
Yes! The brownies will be slightly thinner and may bake a bit quicker.
Usually that means they were overbaked or too much liquid was added. Stick with the ingredients listed and pull them when the center is just slightly soft.
Yes, bake in a 9x13 pan. Watch the bake time since it may take a little longer
Try These Recipes Next!



Red Velvet Cake Mix Brownies
Equipment
- large mixing bowl
- 8x8 or 9x9 pan
- Spatula
- Measuring cups
- Parchment paper
Ingredients
- 1 box 15.25 oz red velvet cake mix
- 2 large eggs
- ½ cup melted butter
- ½ cup white chocolate chips
Instructions
- Preheat oven to 350°F. Line an 8x8 baking pan with parchment or lightly grease.
- Add cake mix, eggs, and melted butter to a large bowl. Stir until thick and smooth.
- Stir in white chocolate chips.
- Spread batter into the pan. Use a spatula to press it evenly.
- Bake about 18 to 22 minutes until edges are set and the center looks slightly soft.
- Cool before slicing.
Notes
- If using a 9x9 pan, bake time may be shorter.
- For extra fudgy brownies, don't overbake.
- Sprinkle extra chips on top before baking for bakery style brownies.
- Let them cool before cutting for neat slices.
Sophie Viau says
These red velvet brownies are one of my favorite “shortcut desserts” because they feel so special while being unbelievably easy to make. I love that rich chocolate flavor with a hint of tang, and that fudgy, chewy texture is just perfect. They’re great for Valentine’s Day, holidays, or anytime you need a quick treat that still looks impressive.