

This Ninja Creami Strawberry Ice Cream that tastes like the real deal. Sweet, creamy, and so much better than store-bought.

This strawberry ice cream is one of those recipes I keep coming back to because it just works. The flavor is bright and fruity, the texture is smooth, and it's done with minimal effort. I love making this when strawberries are on sale or when I have a bag of frozen ones sitting in my freezer. It's also great because you don't need any fancy equipment beyond your Ninja Creami.
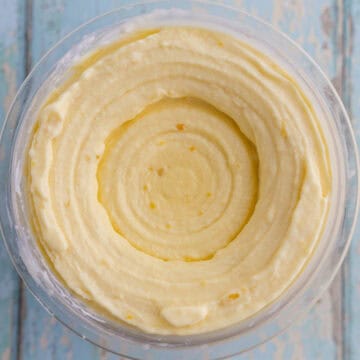
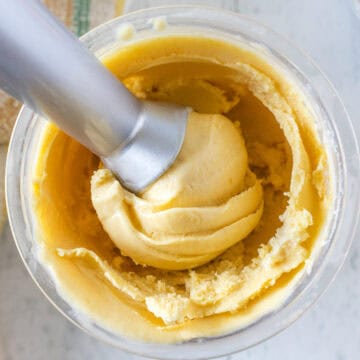
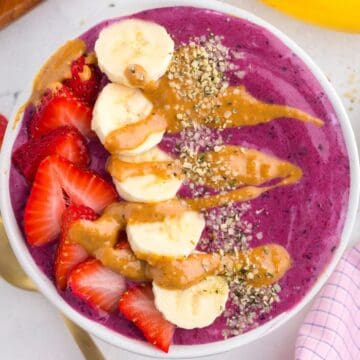
If you want more ninja creami recipes make sure to try my Ninja Creami Peach Ice Cream Recipe or my Ninja Creami Banana Milkshake.
Quick Answer
- Time: 2 minutes active, 24 hours freezing
- Texture: Creamy and scoopable (not icy!)
- Flavor: Sweet strawberries with a hint of vanilla
- Who it's for: Anyone craving homemade strawberry ice cream
- Method: Mix in pint, freeze, spin in Ninja Creami
This Ninja Creami strawberry ice cream uses frozen strawberries, half and half, and maple syrup for natural sweetness-just mix, freeze, and spin.
Jump to:
The ingredients
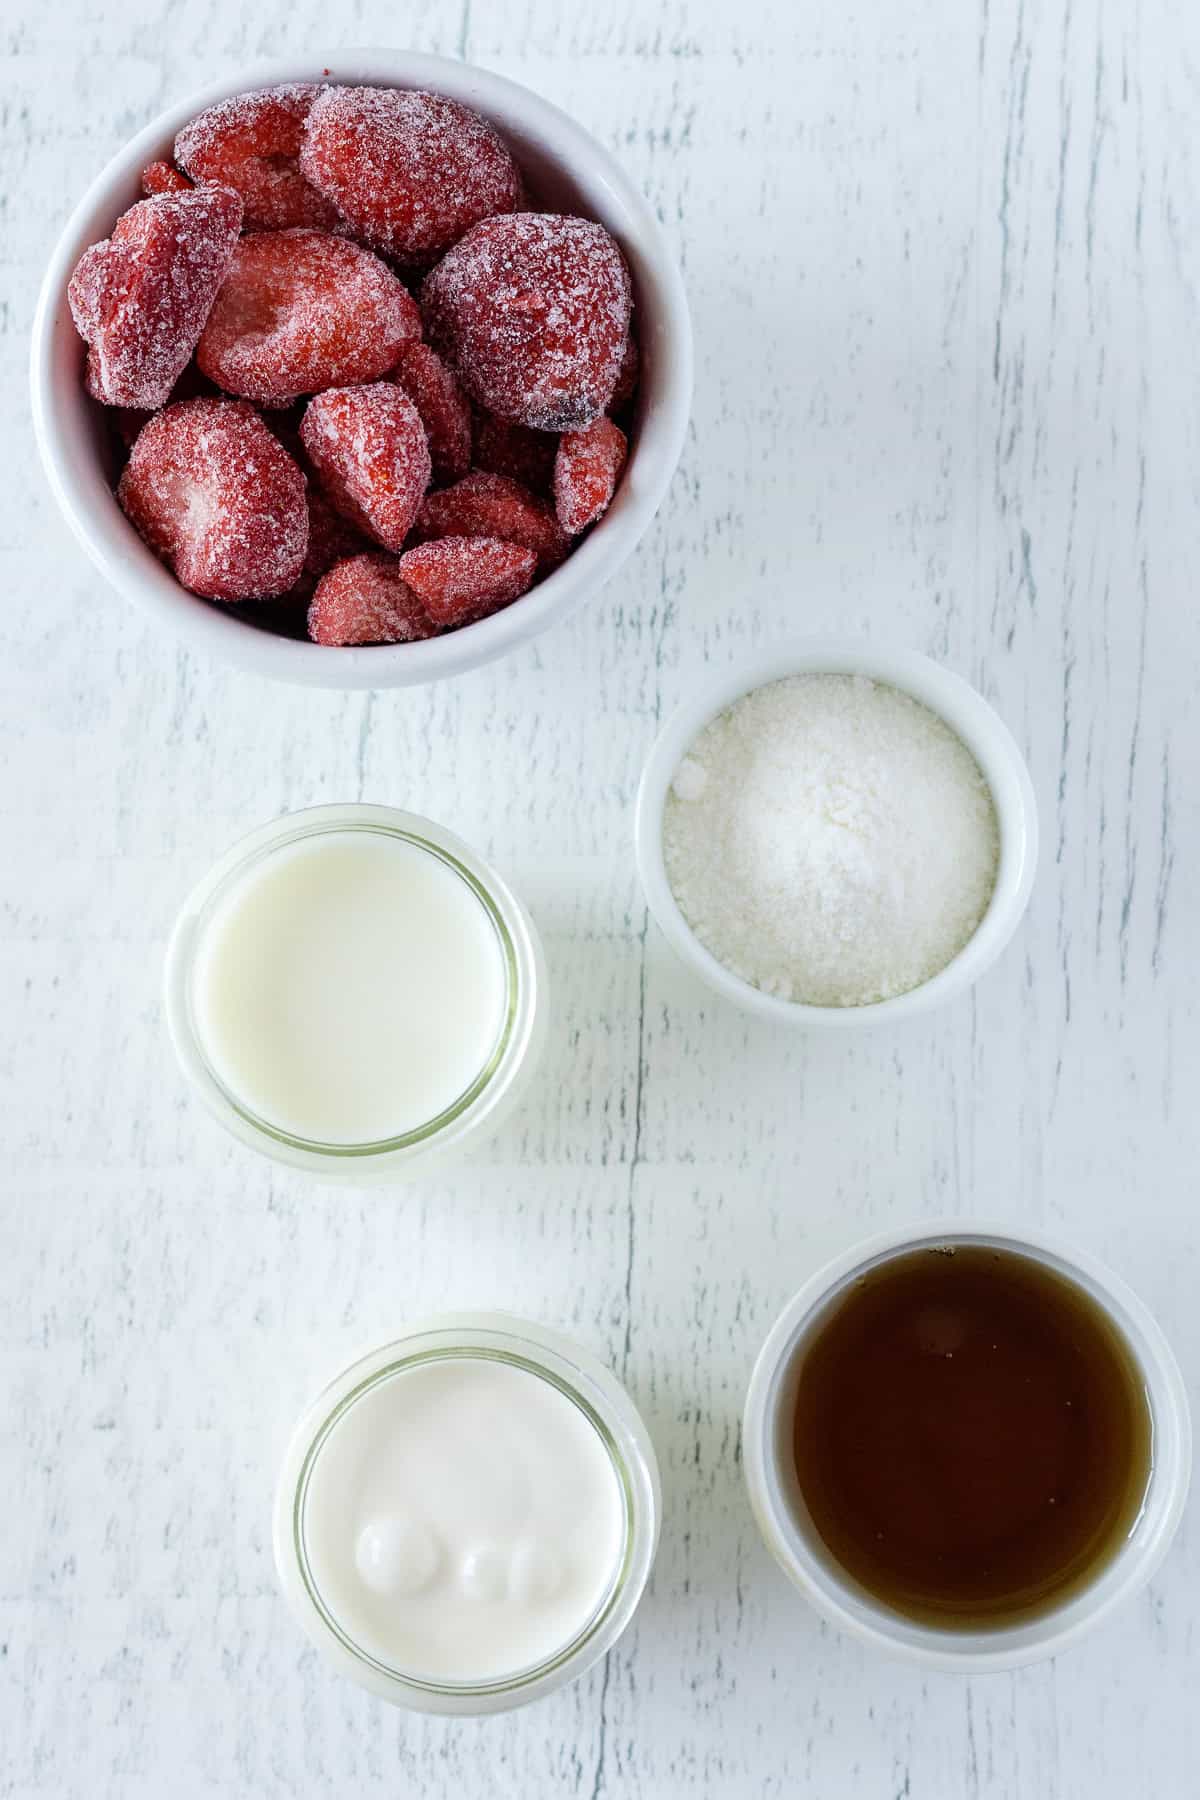
Frozen sliced strawberries: I use frozen because they're consistent, already prepped, and available year-round. Fresh strawberries work too, but you'll need to slice them first and make sure they're ripe and sweet. If they're those flavorless off-season berries? Skip them and grab the frozen bag.
Half and half: This is what makes the ice cream creamy without being too heavy. It's richer than milk but lighter than heavy cream. Perfect middle ground.
Milk: Whole milk is best here. The fat content matters for texture. You could use 2%, but anything lower will give you icy results.
Maple syrup: Natural sweetness that doesn't fight with the strawberry flavor. You can swap it for honey or regular sugar, but I like how maple syrup keeps things simple.
Vanilla Pudding : Makes the strawberry flavor pop and the ice cream creami.
For the ingredients quantities go to the recipe card below
Steps-by-step Instructions for the Ninja Creami Strawberry Ice Cream
Step 1: Add everything to the pint
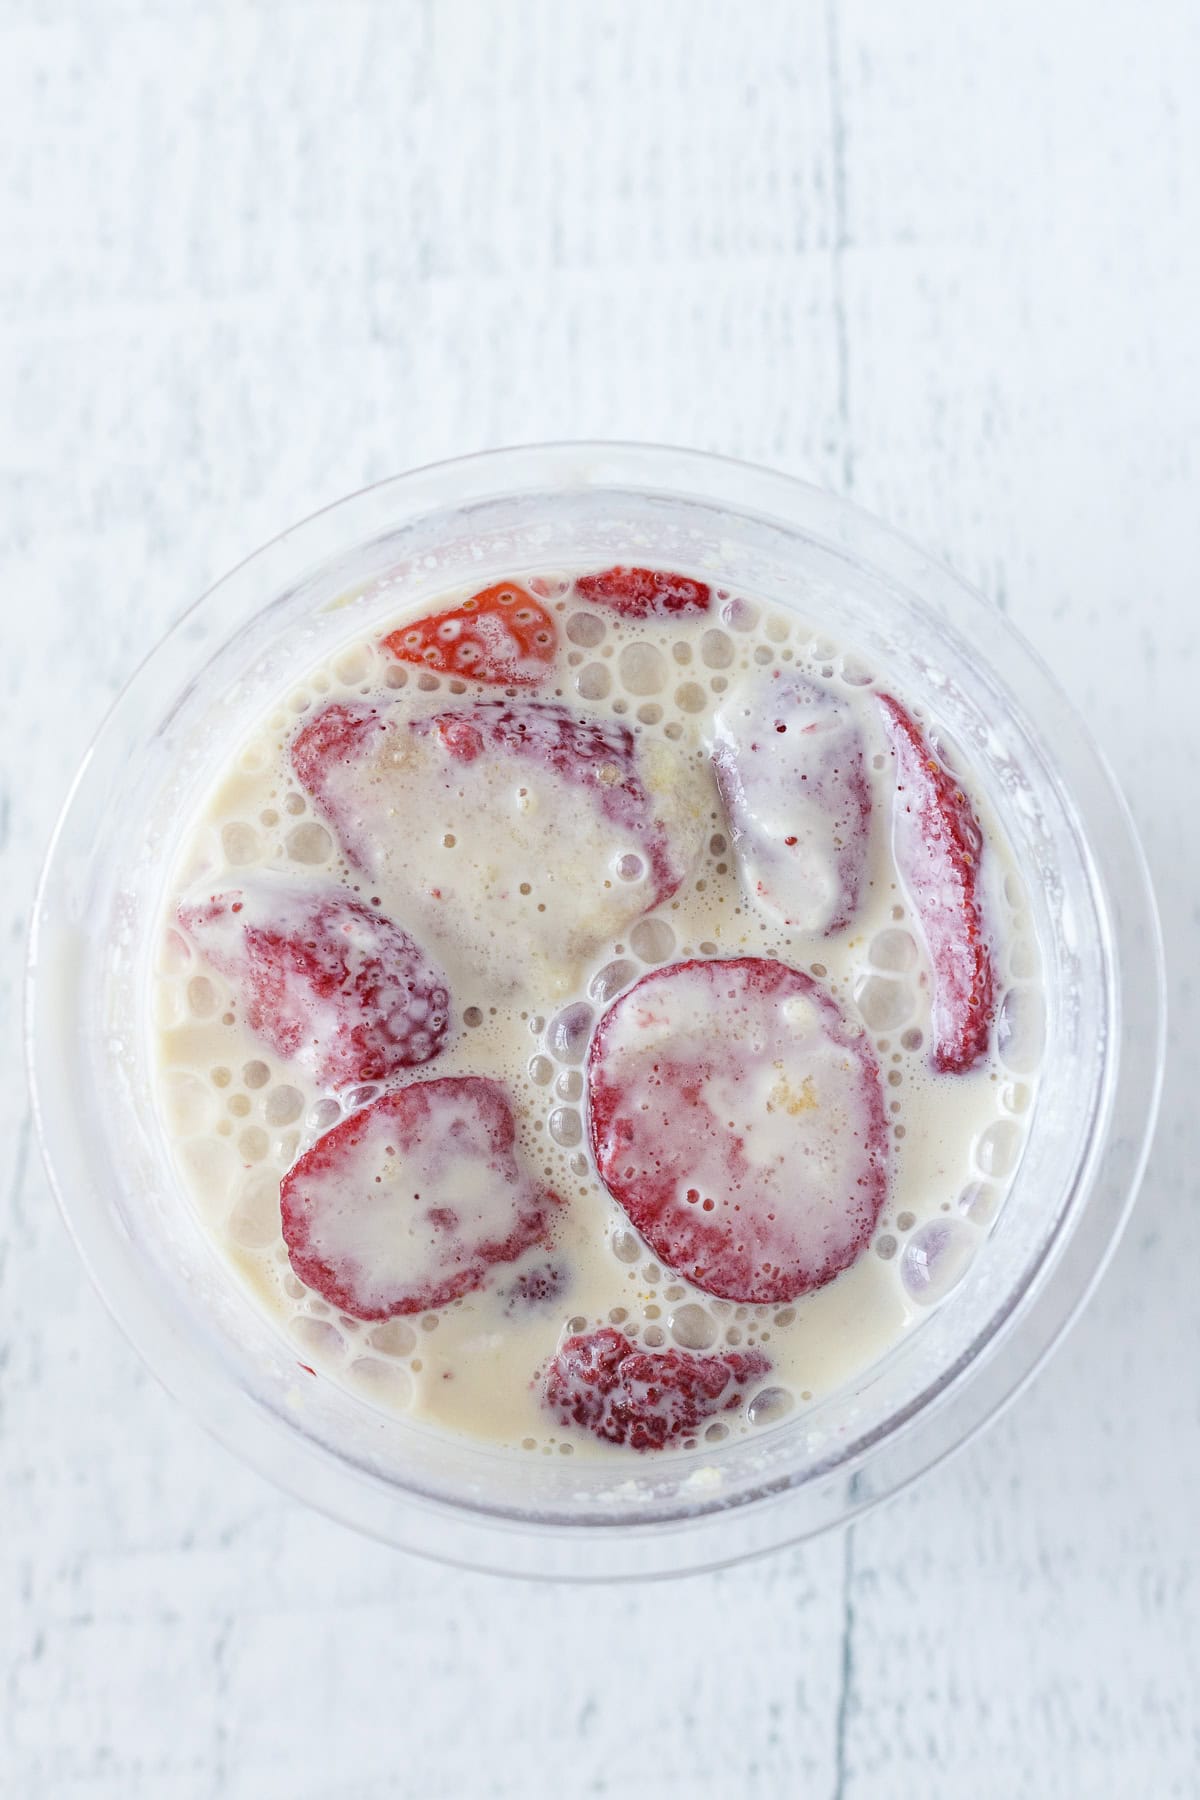
Place the frozen sliced strawberries directly into your Ninja Creami pint container. Pour in the half and half, milk, maple syrup, and vanilla pudding Step 2: Stir it up
Use a spoon to give everything a good stir. You want the liquids mixed together and the strawberries spread throughout the pint. Doesn't have to be perfect, just combined.
Step 3: Freeze for 24 hours
Seal the pint with the lid and place it on a flat surface in your freezer. Let it freeze for at least 24 hours until it's completely solid.
Step 4: Spin in the Ninja Creami
Remove the lid from the frozen pint. Insert the pint into the outer bowl of your Ninja Creami. Lock the paddle lid on, twist it into the machine, and select the "Ice Cream" function.
Step 5: Check and re-spin if needed
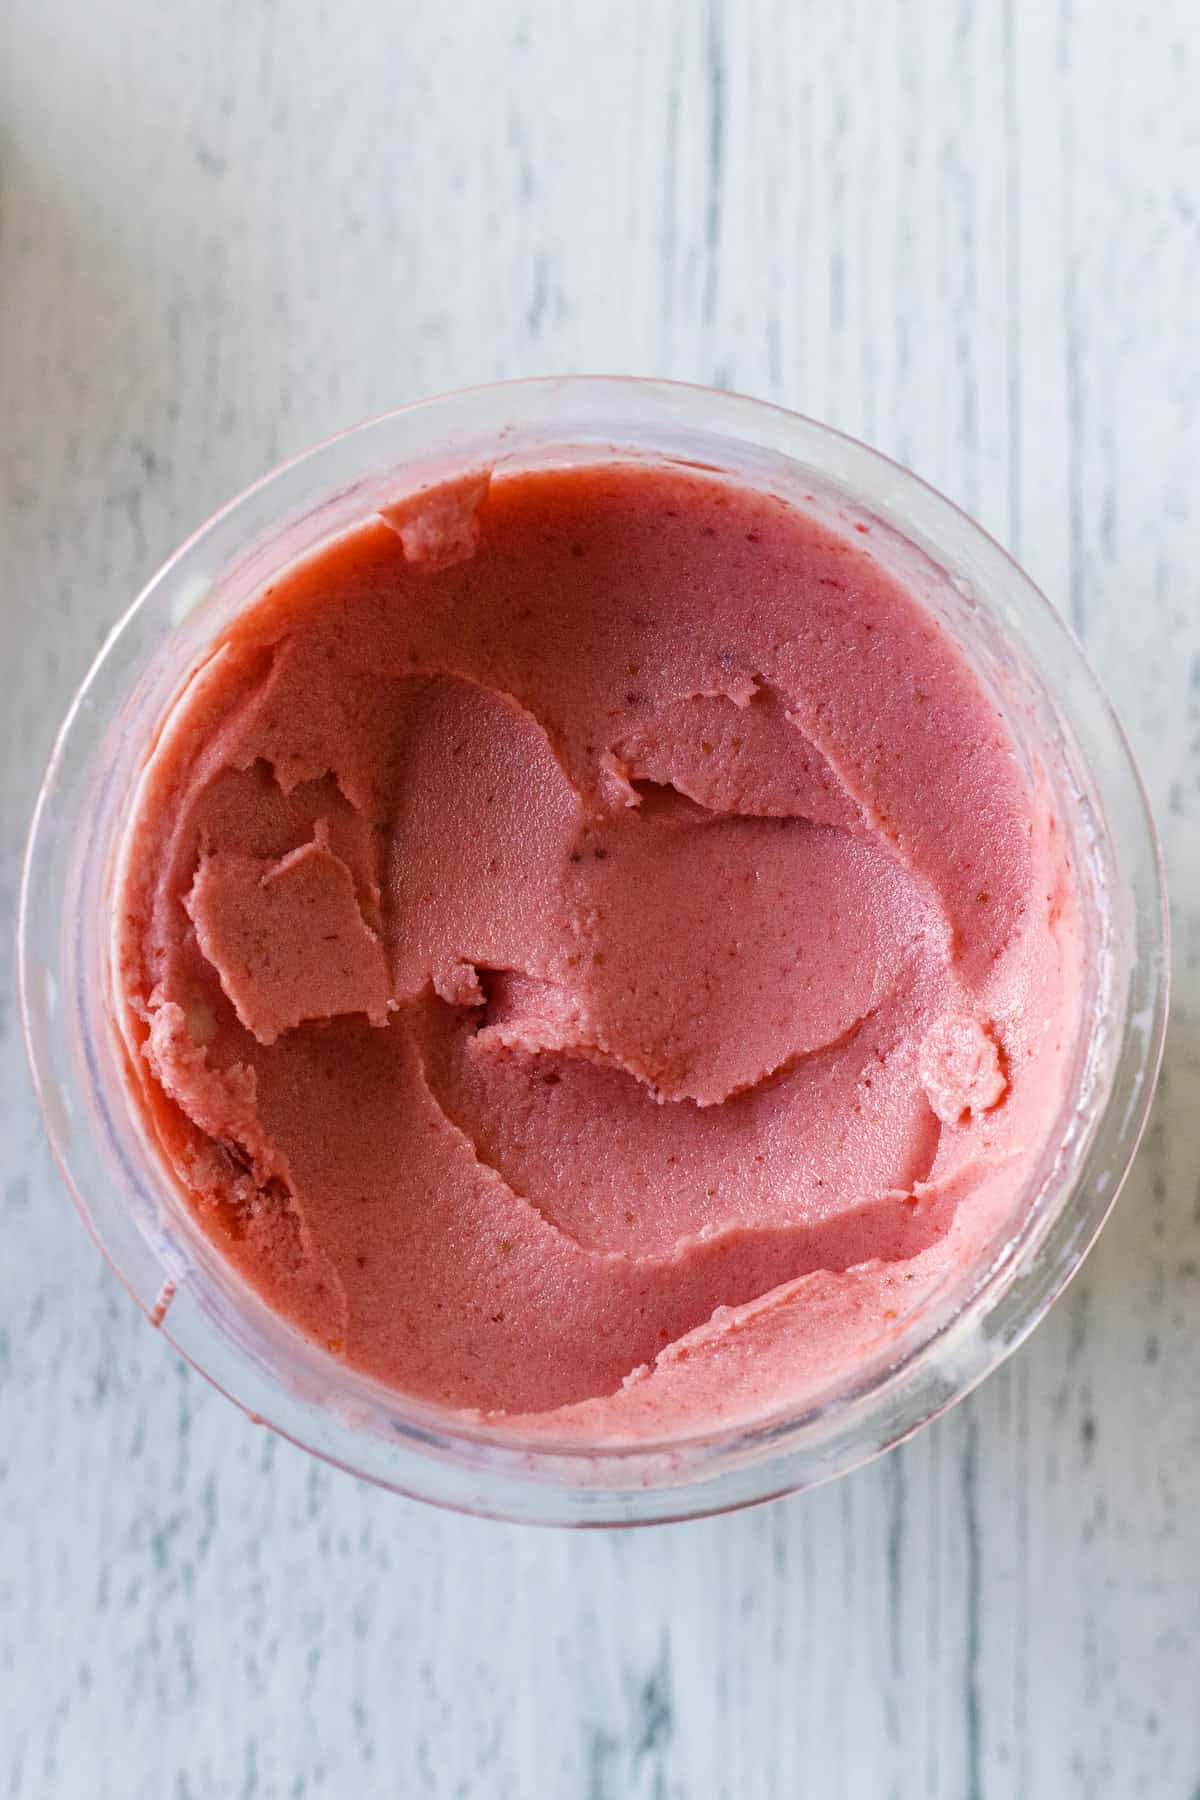
When it's done, check the texture. If it looks crumbly (this is normal), add 1 tablespoon of milk to the center and hit "Re-Spin." You might need to do this twice. Don't skip it.
Step 6: Serve immediately
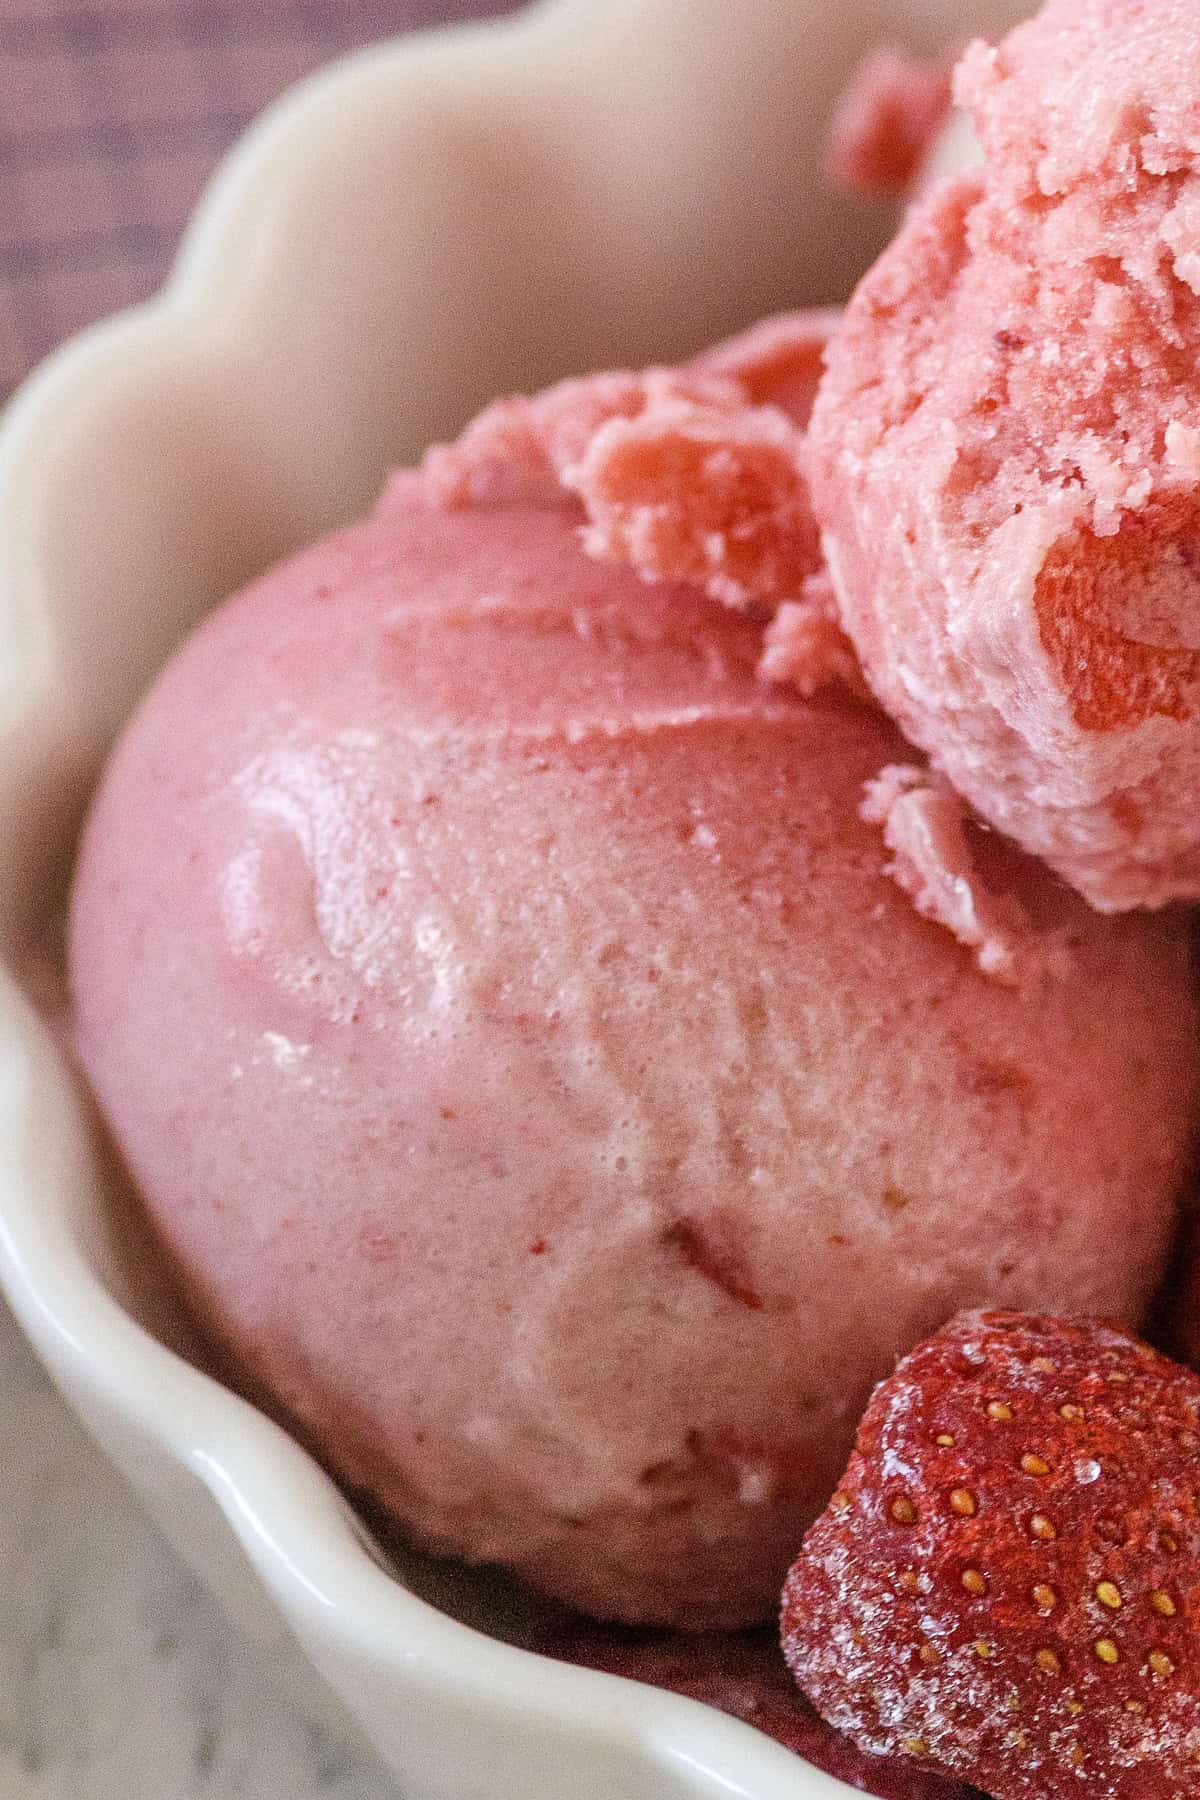
Scoop and enjoy. It's perfect right out of the machine.
Sophie's Tips
- Stir before freezing. Make sure the liquids are mixed and the strawberries are spread out. It helps with the final texture.
- Taste your strawberries. If they're not sweet, add an extra tablespoon of maple syrup before freezing. Frozen strawberries can vary in sweetness.
- Don't panic when it's crumbly. The first spin almost always looks dry and crumbly. Just add milk and re-spin. That's how this machine works.
- Let it sit for a minute. If your ice cream is super hard after re-spinning, let it sit on the counter for 2-3 minutes before scooping.
Variations
Strawberry Cheesecake Ice Cream: Add 2 tablespoons of cream cheese to the pint before freezing. After spinning, mix in crushed graham crackers using the "Mix-In" function.
Chocolate Strawberry: After the first spin, add 2 tablespoons of chocolate chips to the center and use "Mix-In."
Strawberry Banana: Replace ½ cup of strawberries with ½ cup of sliced banana. Tastes like a smoothie bowl but in ice cream form.
Lighter Version: Use all milk instead of half and half. It won't be as rich, but it'll still be good.
Serving Ideas
Here's how I like to serve this:
- In sugar cones with chocolate sauce drizzled on top
- Topped with fresh strawberry slices and whipped cream
- Alongside warm brownies or chocolate cake
- In a strawberry milkshake (blend a scoop with milk)
- With crushed Oreos or vanilla wafers on top
Storage Tips
Put the lid back on the pint and stick it in the freezer. When you want more, take it out and run it through "Re-Spin." It'll be creamy again in under a minute. It keeps for about 2 weeks, but the texture is best within the first week.
FAQs
Can I use fresh strawberries instead of frozen?
Yes, but you'll need to slice them first and make sure they're ripe. Fresh strawberries can be hit or miss depending on the season. Frozen strawberries are more consistent because they're picked and frozen at peak ripeness.
Why is my strawberry ice cream icy instead of creamy?
You probably need to re-spin it with a splash of milk. The Ninja Creami often needs 1-2 re-spins to get the right texture. Also, make sure you're using whole milk and half and half, not skim milk. Fat content matters.
Can I add fresh strawberry pieces after spinning?
Absolutely. After your first spin, add ¼ cup of diced fresh strawberries to the center and use the "Mix-In" function. It gives you little strawberry chunks throughout.
Didn't find the answer you're looking for?
Ask AI to answer based on this specific recipe:
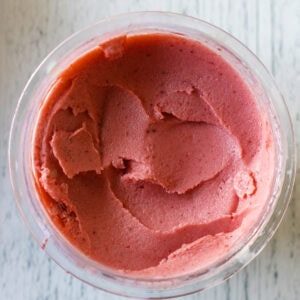
Ninja Creami Strawberry Ice Cream
Equipment
- Ninja Creami ice cream maker
- Ninja Creami + pint container
- Spoon for stirring
Ingredients
- 1½ cups frozen sliced strawberries
- 1 cup half and half
- ½ cup whole milk
- 2 tablespoons maple syrup
- 2 teaspoons vanilla pudding
Instructions
- Place the frozen sliced strawberries directly into the Ninja Creami pint container. Pour in the half and half, milk, maple syrup, and vanilla pudding.
- Use a spoon to stir everything together in the pint. Make sure the liquids are mixed and the strawberries are distributed evenly throughout. It doesn't need to be perfectly smooth.
- Seal the pint with the storage lid. Place it on a flat, level surface in your freezer and freeze for a minimum of 24 hours until completely solid.
- Remove the pint from the freezer and take off the lid. Place the frozen pint into the outer bowl of your Ninja Creami. Attach the creamerizer paddle and lock the lid assembly. Insert into the machine and select the "Ice Cream" function. Allow the cycle to complete.
- After processing, check the consistency. If the ice cream appears dry or crumbly, create a small well in the center and add 1 tablespoon of milk. Select "Re-Spin" and process again. Repeat once more if needed for a smooth, creamy texture.
- Your strawberry ice cream is ready to eat. Scoop into bowls or cones and enjoy right away.
Notes
- Frozen vs fresh: Frozen strawberries work best because they're picked at peak ripeness. If using fresh, make sure they're ripe and sweet, and slice them before adding to the pint.
- Sweetness adjustment: Taste your strawberries first. If they're tart, add an extra tablespoon of maple syrup before freezing.
- Re-spinning is normal: Most Ninja Creami recipes need at least one re-spin with a splash of milk. Don't worry if it looks crumbly after the first spin.
- Storage tip: Leftover ice cream can be re-frozen in the pint container. When you're ready to eat it again, simply run it through the "Re-Spin" function to restore the creamy texture.

Leave a Reply