

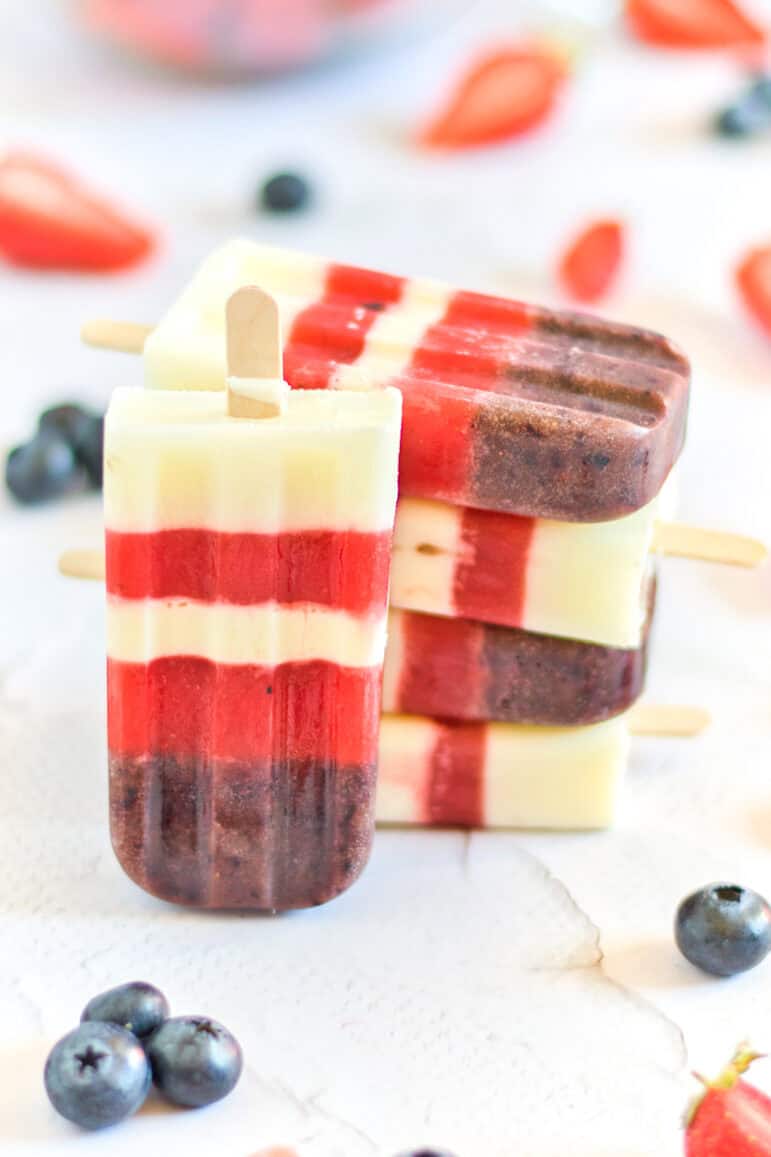
Summer is here, and so is the perfect excuse to make these 4th of July popsicles! They're patriotic, naturally sweetened, and honestly just fun to look at with those red, white, and blue layers.
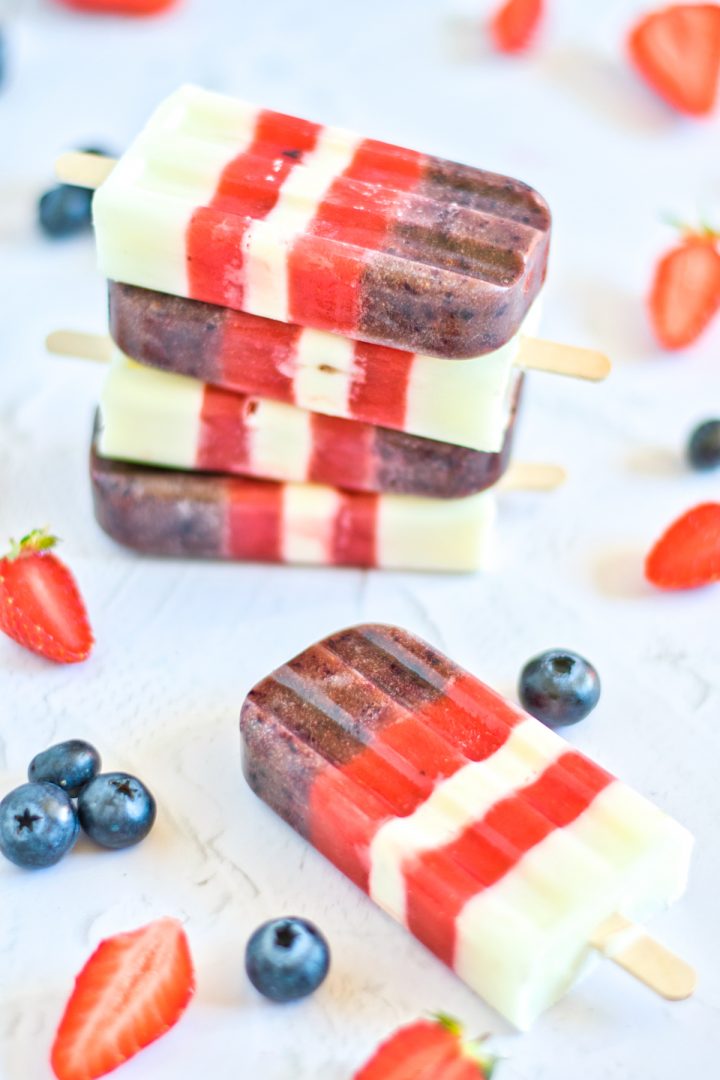
I make these every year for Independence Day, and they're always the first thing to disappear at our BBQ. They're made with real strawberries and blueberries, a creamy vanilla layer in the middle, and just a touch of stevia to keep them light. No food dye needed, the berries do all the work!
They're freezer-friendly, kid-approved, and honestly taste way better than anything you'd buy at the store. Plus, you can prep them a few days ahead and just pull them out when your guests arrive.
If you want more 4th of July Recipes make sure to check out my Easy 4th of July Caprese Salad, Mini Trifle (4th of July Trifles and Red White and Blue Poke Cake (Easy 4th of July Dessert)
Quick Answer
These 4th of July popsicles feature three patriotic layers made with fresh strawberries, blueberries, and whipping cream.
Prep: 20 minutes (blend berries, layer into molds).
Freeze: 3 hours per layer, 9-12 hours total.
Texture: Smooth and creamy with bright fruity flavor.
Perfect for: Independence Day parties, summer BBQs, backyard cookouts. Method: Blend berries separately with water and stevia, layer in popsicle molds, freeze between each layer, then unmold and serve. These red, white, and blue treats are naturally sweetened and a guaranteed crowd-pleaser.
Jump to:
The ingredients

the main ingredients
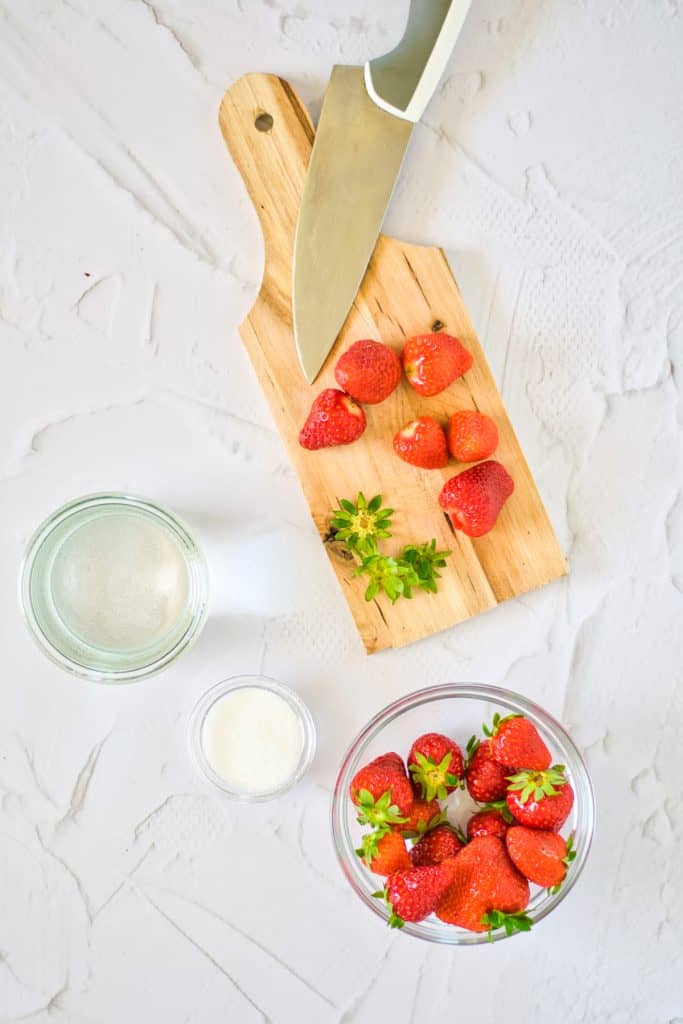
Strawberries: Fresh, juicy, and ripe. These make your red layer naturally vibrant.
Blueberries: The blue layer! Wash well and blend with water and stevia.
Stevia: A natural no-calorie sweetener. You can swap for maple syrup or honey if you prefer.
Whipping Cream: This is your white layer. Use coconut milk for a dairy-free version.
Water: Helps the berries blend smoothly and keeps the popsicles from being too icy.
For quantities see recipe card below.
How to make the 4th of July Popsicle
1. Prep the blueberry layer (blue).
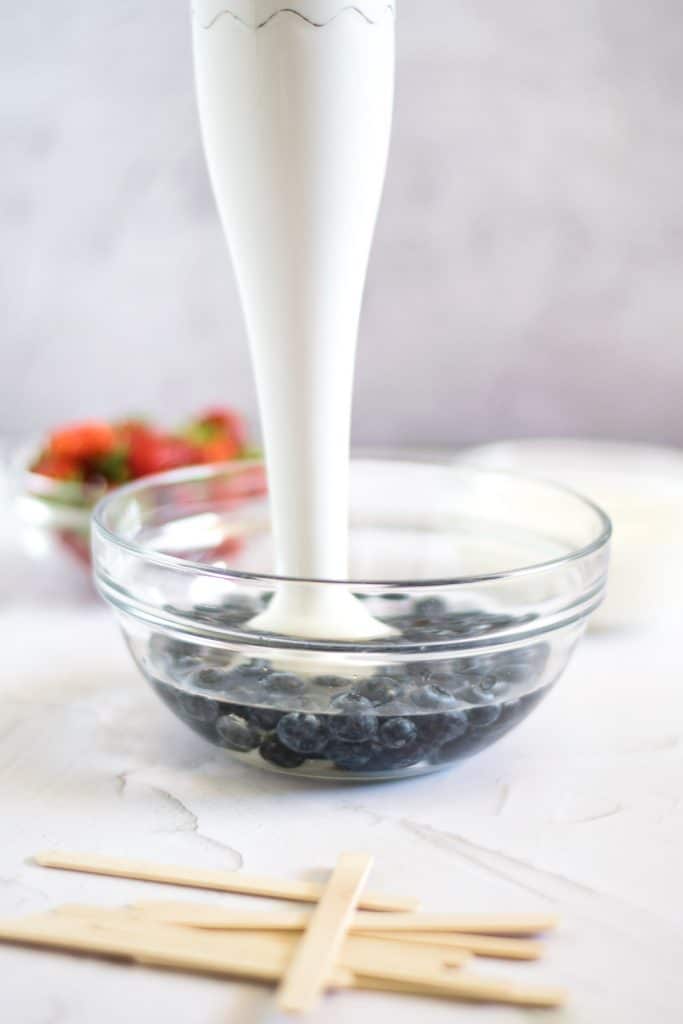
Wash the blueberries under running water. In a small bowl, mix them with 1 teaspoon of stevia and ¼ cup of water. Blend until smooth.
2. Add to molds and freeze.
Divide the blueberry puree evenly among 10 popsicle molds. Freeze for 3 hours or until firm.
3. Make the strawberry layer (red).
While the blueberry layer freezes, wash and hull your strawberries. Blend them with 1 teaspoon of stevia and ¼ cup of water until smooth.
4. Add strawberry layer.
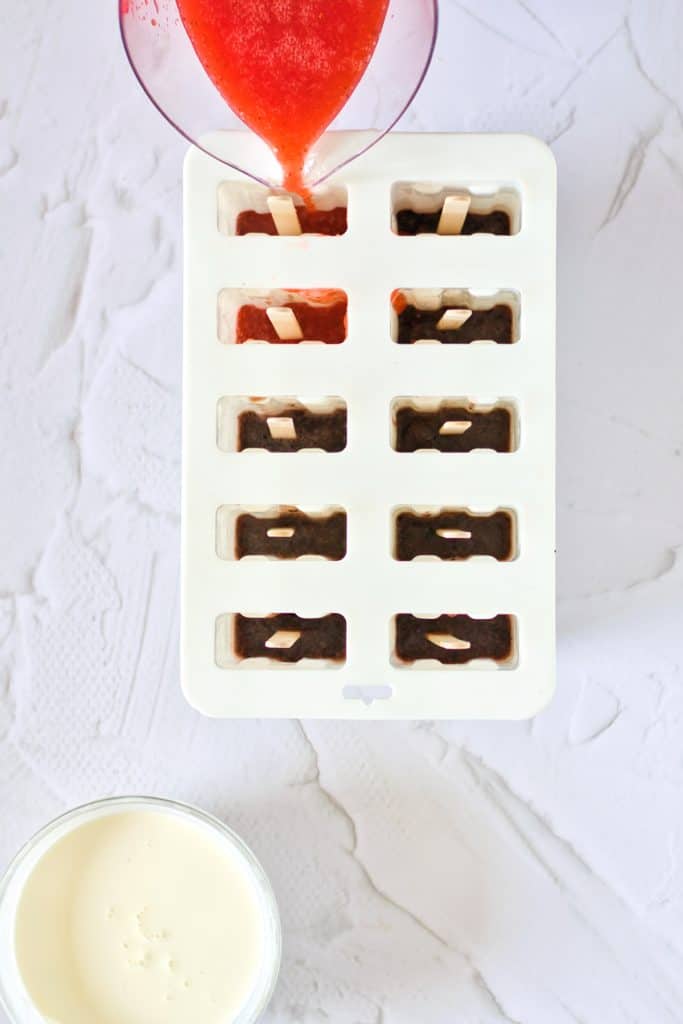
Pour the strawberry puree on top of the frozen blueberry base. Insert popsicle sticks, cover with foil or the mold's lid, and freeze another 3 hours.
5. Prep the cream layer (white).
Whisk the whipping cream until smooth. If you're using coconut milk, whisk well to make it creamy.
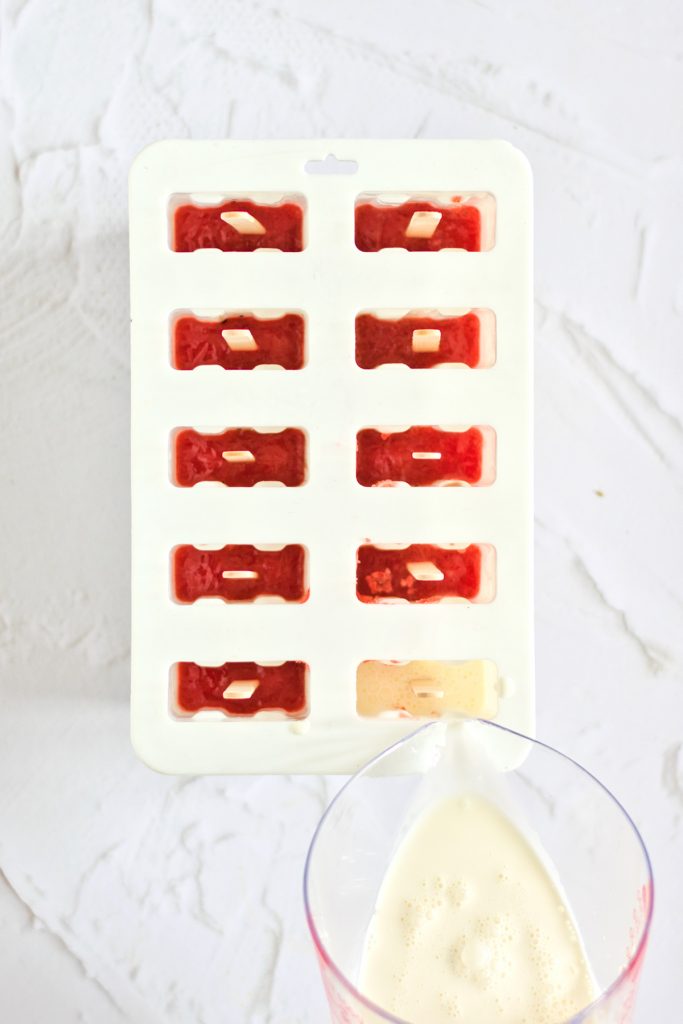
6. Pour cream layer and freeze again.
Spoon the cream over the strawberry layer for that classic red, white, and blue look. Freeze for another 3 hours.
7. Finish with strawberry (optional).
Add another layer of the remaining strawberry puree on top if you want extra red. Freeze one final time, then you're done!
8. Unmold and enjoy.
Run the mold under warm water for 10 seconds to release the popsicles easily.y.
Tips for Success
- Use ripe fruit: The sweeter your berries, the more patriotic punch they'll have.
- Layer patiently: Let each layer freeze fully before adding the next to keep those clean red, white, and blue stripes.
- Blend smooth: A creamy texture makes your popsicles prettier and easier to eat.
Variations to Try
Swap the sweetener: Use maple syrup or agave instead of stevia for a different sweetness level.
Add texture: Mix in a few chopped berries between layers for a chunky surprise.
Make them boozy: Adults only! Add a splash of vodka or white rum to the strawberry layer.
Serve With & Storage
Serve with: These are perfect for poolside snacks, 4th of July BBQs, or as a festive dessert at any Independence Day party.
Storage tips: Keep them in the popsicle mold or transfer to a freezer-safe bag for up to 2 months.
Pro tip: If stacking popsicles, separate with parchment paper to prevent sticking.
FAQS
Can I make these popsicles ahead of time?
Yes! Make them 3-5 days before your 4th of July party and keep them frozen. They actually taste better after sitting in the freezer for a day or two.
How long do these 4th of July popsicles take to freeze?
Each layer needs at least 3 hours to freeze solid. Total time is around 9-12 hours for fully layered popsicles, so plan to start the day before your party.
Can I use frozen berries instead of fresh?
Absolutely! Just thaw them first and drain any excess water so your layers stay vibrant and don't get watery.
4th of July Popsicle Recipe
Ingredients
- 1 ½ cups strawberries
- ½ cup blueberries
- 2 teaspoon stevia divided or maple syrup or honey
- ¾ cup whipping cream or coconut milk
- ½ cup water divided
Instructions
- Wash blueberries and blend with 1 teaspoon stevia + ¼ cup water until smooth.
- Divide into 10 popsicle molds. Freeze 3 hours.
- Wash strawberries, remove stems, and blend with 1 teaspoon stevia + ¼ cup water.
- Pour strawberry puree over frozen blueberry layer. Insert sticks and freeze 3 hours.
- Whisk whipping cream. Add half to molds as third layer. Freeze 3 hours.
- Top with remaining strawberry puree or cream. Freeze again until fully set.
- Unmold by running under warm water. Enjoy!
Notes
- For extra color separation, freeze each layer fully before adding the next.
- Coconut milk adds a delicious tropical flavor and makes it dairy-free.
- Use silicone molds for easier removal.
- Keep popsicles in an airtight bag to prevent freezer burn.

Leave a Reply